Artificial nails are a fantastic way to express personal style, but all good things must come to an end. Whether your tips have grown out, you’re ready for a break, or you simply crave a new look, knowing how to remove them properly is crucial. A hasty removal can lead to damaged, thin, and painful natural nails. The key is patience and the right technique.
This guide will walk you through the three most common at-home removal methods: the warm water soak, the filing method, and using a non-acetone remover.
Method 1: The Warm Water Soak (Ideal for Glue-On Nails and Press-Ons)
This is one of the gentlest methods, perfect for press-on nails or acrylics that were applied with nail glue.
What You’ll Need:
- A small bowl
- Warm (not hot) water
- Olive oil, coconut oil, or gentle dish soap
- An orange stick or cuticle pusher
- A coarse-grit nail file
The Step-by-Step Process:
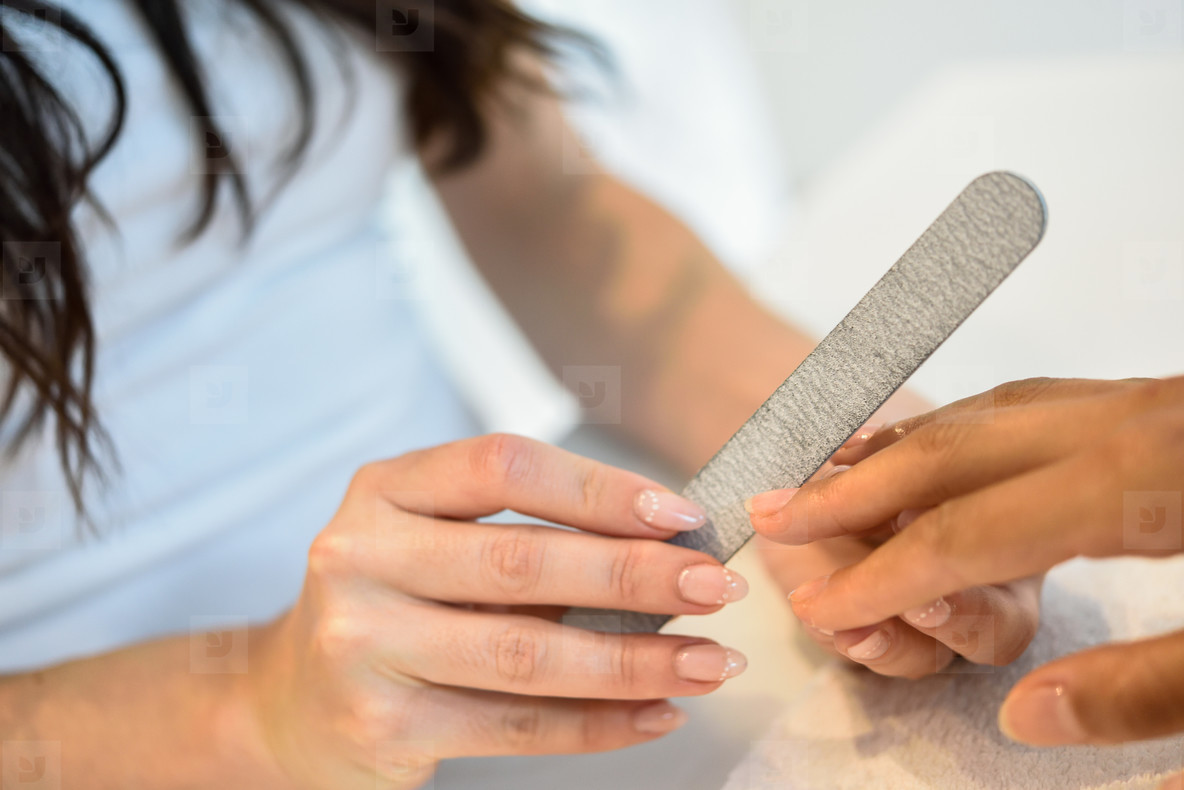
1. File the Surface: Start by gently filing the shiny top coat of your artificial nails. This breaks the seal and allows the water mixture to penetrate. You don’t need to file down to your natural nail—just rough up the surface.
2. Prepare the Soak: Fill the bowl with warm water and add a few tablespoons of olive oil or a drop of dish soap. The oil helps to moisturize your nails and cuticles during the process, while the soap can help break down the adhesive.
3. Soak and Wait: Submerge your fingertips in the warm water for 15-20 minutes. You can gently wiggle your fingers to help the water circulate.
4. Gently Pry: After soaking, use an orange stick to gently test if the nail is lifting at the edges. Do not force it. If it doesn’t lift easily, soak for another 10 minutes. The goal is for the nail to slide off with minimal pressure.
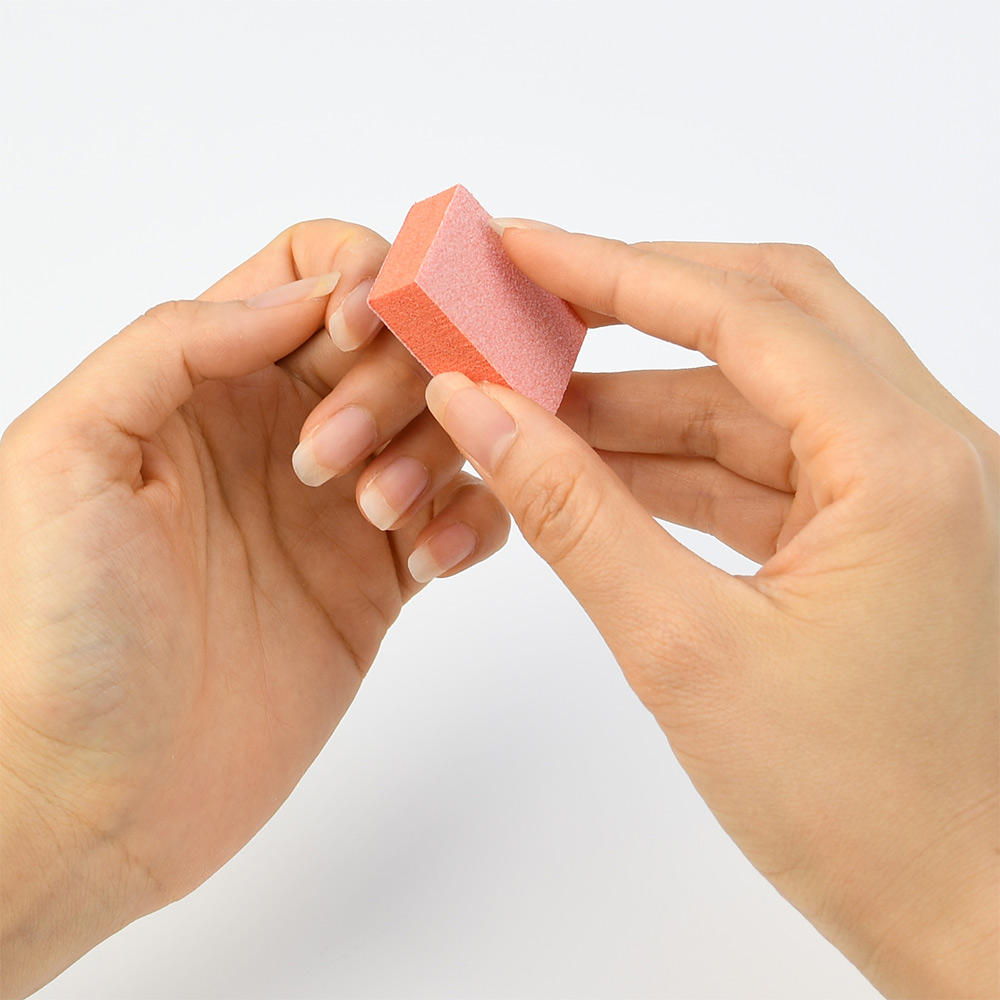
5. Buff and Moisturize: Once the nails are off, you’ll likely have some adhesive residue left. Gently buff your natural nails with a buffing block to smooth them out. Wash your hands and apply a rich hand cream or cuticle oil.
Pro Tip: Never peel or pry off a nail that isn’t ready. This is the number one cause of nail damage, as it can take layers of your natural nail with it.
Method 2: The Filing Method (For Acrylic and Hard Gels)
This method requires more care and is best for harder enhancements like acrylics or hard gels that don’t dissolve easily. It’s often the preferred method for professionals.
What You’ll Need:
- A coarse-grit (80-100 grit) nail file or electric file
- A fine-grit (180-240 grit) buffer block
- Nail oil
The Step-by-Step Process:
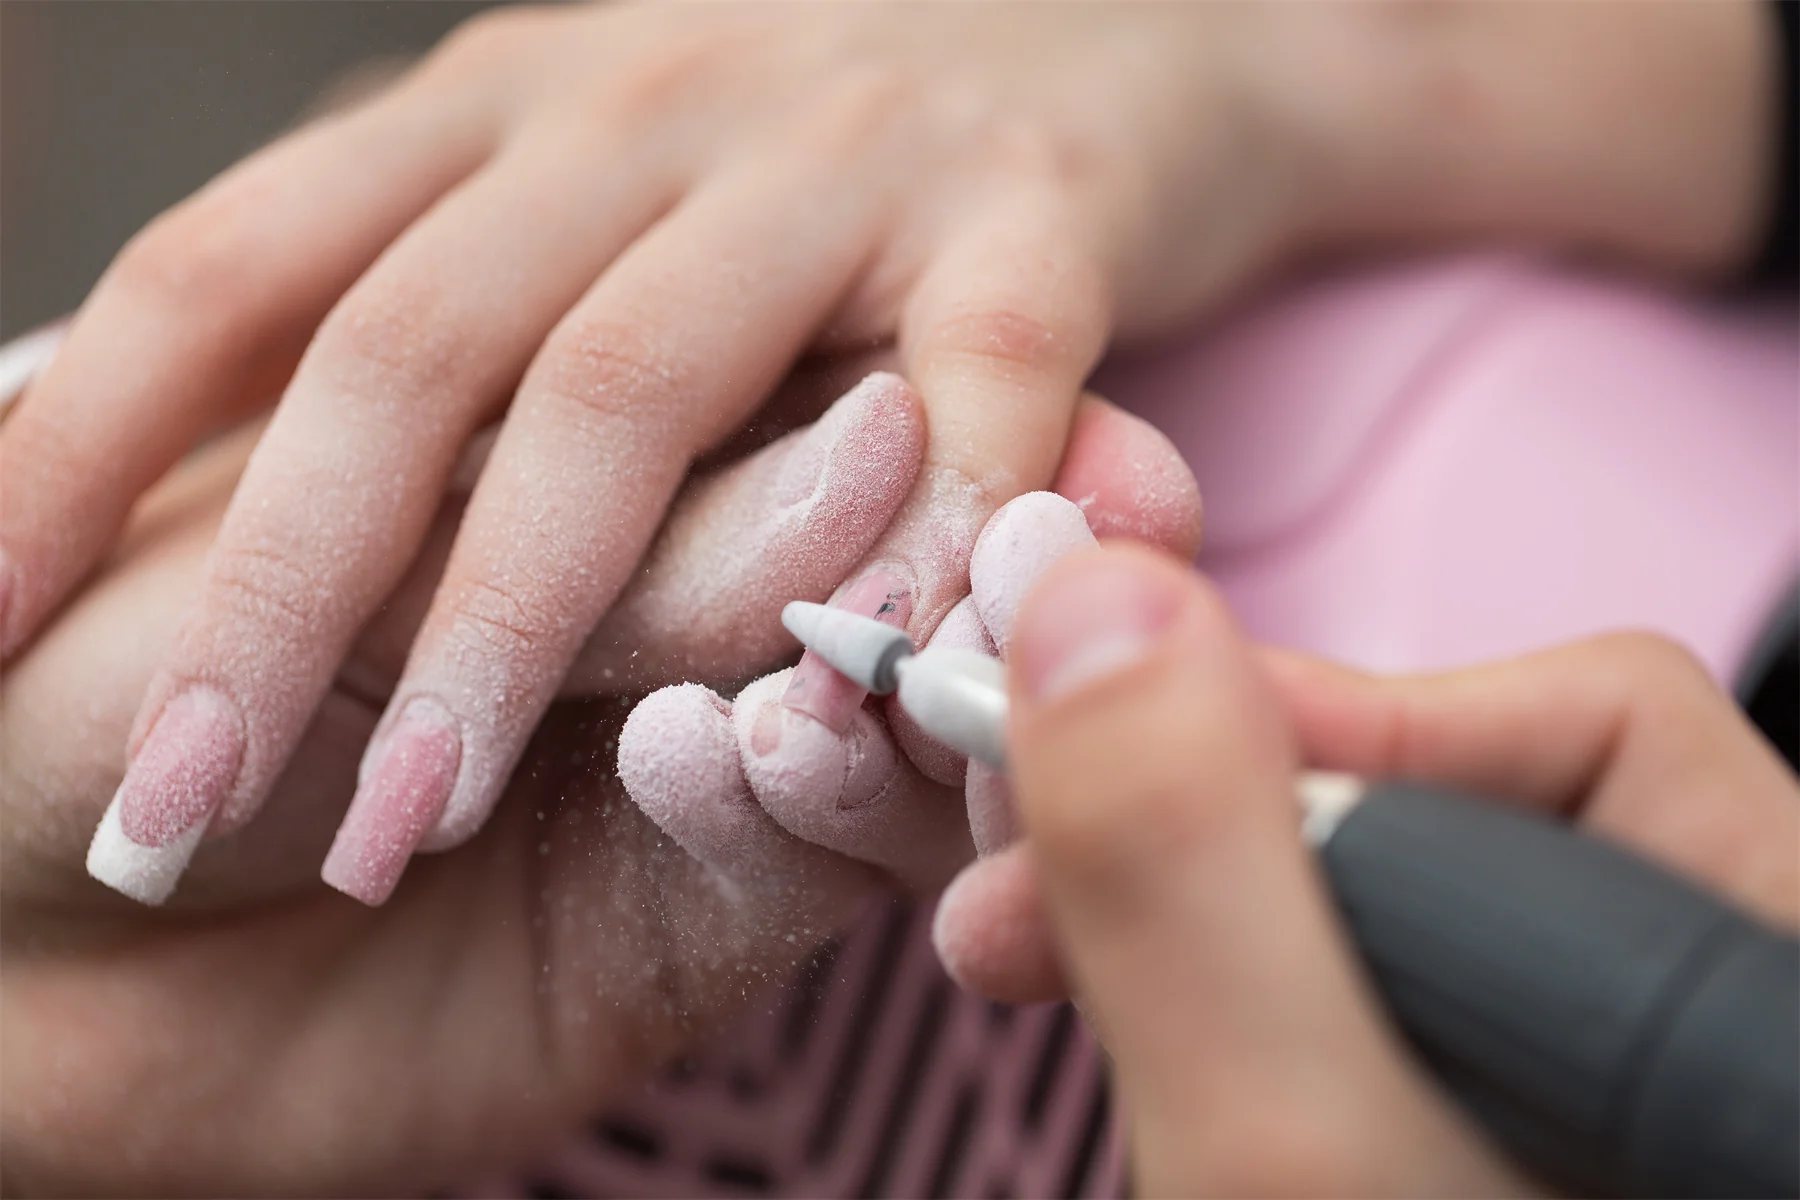
1. File the Bulk: Using the coarse-grit file, gently file back and forth over the surface of the artificial nail. Your goal is to file down the bulk of the product, getting it as thin as possible without touching your natural nail. Focus on the center of the nail first.
2. Thin it Out: Continue filing until the artificial nail is a very thin layer. You should be able to see your natural nail vaguely through it. Be extra cautious around the cuticles and sidewalls to avoid filing your skin.
3. Switch to the Buffer: Once the enhancement is paper-thin, switch to your fine-grit buffer. Gently buff the remaining product away in one direction. This will leave your natural nail smooth and free of residue.
4. Nourish: This method can be drying. Immediately massage a generous amount of nail oil into your nails and cuticles to rehydrate them.
Pro Tip: If you are new to filing, take breaks to check your progress. It’s better to go too slow than to file too deep and damage your nail plate.

Method 3: The Non-Acetone Remover (For Soft Gel Polishes and Overlays)
While acetone is powerful, it is extremely drying and harsh. A non-acetone remover is a milder alternative, effective for removing soft gel polishes and some overlays.
What You’ll Need:
- Non-acetone nail polish remover
- Cotton balls
- Aluminum foil
- An orange stick
- A coarse-grit nail file
The Step-by-Step Process:
1. File the Shiny Layer: As with the water method, use a file to break the seal of the top coat. This step is non-negotiable for the remover to work.
2. Soak the Cotton: Tear a cotton ball into a piece large enough to cover your nail. Soak it thoroughly in the non-acetone remover.
3. Create a Foil Wrap: Place the soaked cotton on your nail and wrap the fingertip securely with a small square of aluminum foil. This holds the cotton in place and prevents the remover from evaporating.
4. Wait Patiently: Leave the wraps on for 30-40 minutes. The gel should start to crinkle and lift.
5. Gently Scrape: Unwrap one finger. Use the orange stick to gently scrape away the softened gel. It should come off easily. If it doesn’t, re-wrap and wait another 10 minutes.
6. Wash and Hydrate: Once all the product is removed, wash your hands with soap and water to remove any chemical residue. Apply a heavy-duty moisturizer and cuticle oil.
The Golden Rules for Every Method
No matter which technique you choose, follow these universal tips for healthy nails:
- Be Patient: Rushing leads to damage.
- Never Peel: This is the most important rule.
- Moisturize, Moisturize, Moisturize: All removal methods are drying. Restore hydration with oils and creams.
- Give Your Nails a Break: After removal, let your natural nails breathe for a week or two before applying a new set.
Removing your artificial nails doesn’t have to be a nightmare. With the right tools, a gentle touch, and a little patience, you can transition back to your natural nails safely, keeping them strong and healthy for your next manicure.